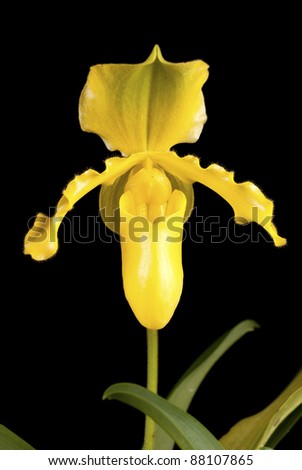
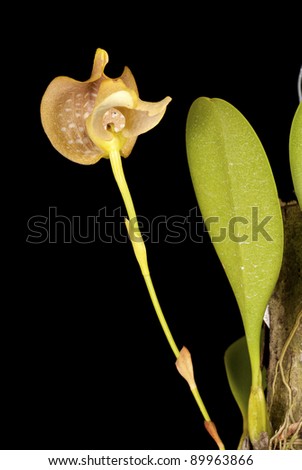
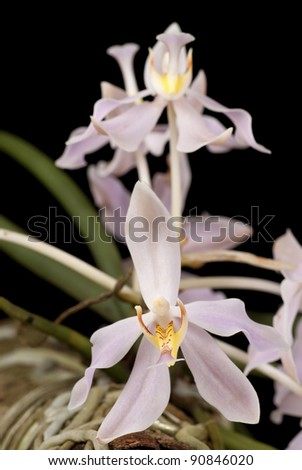
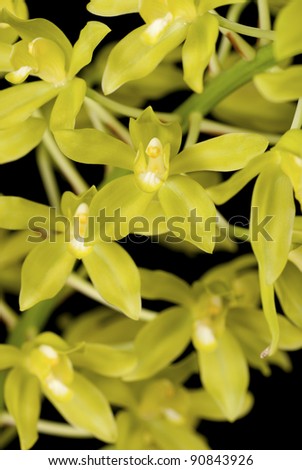
Although the weather had turn nasty during these last few weeks, I had the opportunity to visit a local orchid nursery to shoot some of my favorite subjects... wild orchids. Unfortunately, the wet season also mean that many wild orchids may not bloom so I'm left with the option to include a few hybrids as well in my portfolio. As one says... make hay while the sun shines. Hope you enjoy the orchids!
Tuesday, 20 December 2011
Thursday, 1 September 2011
Types of Isolations
Back in the newbie days before I started learning from professional photographers, the most common advice I received about shooting isolations was to place the object in a light tent, have a sheet of white paper behind the subject and snap away. While this technique may work for eBay sellers and the family album, the bar required for commercial work is far much higher and requires the bar to be raised to industry standards.
Proper isolations requires a light table, lots of light and the use of soft boxes with a internal baffle screen to diffuse the harsh light from the bulb before it strikes the main screen. Unfortunately, it also means that one must expect a loss of between 25% to 40% light loss. Hence, one must seek compensation from more powerful lights such as studio strobes if the subject is relatively larger.
Basically, there are two types of isolations as shown below: -
This image is a live Borneo Forest Scorpion On a White Background. Although the subject is surrounded by a pure white background (RGB#255), this is not a Pure Isolation. If one were to examine the image closer, very soft shadows can be seen under the scorpion. This is done intentionally and it gives a natural look to the posture of the scorpion.
This image is a live Borneo Forest Scorpion Isolated on White. Again, the background is RGB#255 but there are virtually no shadows under the scorpion. This is a Pure Isolation and created intentionally. These photography effects are captured on camera itself. If executed correctly, the image does not require any editing work other than to add a little vibrance or saturation in the editing program to make the image stand up from the page. The colors of the subject are also preserved and superior that of a background pumped up to RGB#255 using several stops in the editing program. Unless it is done properly, the image usually suffers from color deviations and artifacts.
This is another example of a Pure Isolation. The live scorpion rests of a layer of aggregates and this effect combines the properties of a Pure Isolation and On a White Background together. The only shadows that are cast off by the scorpion are on the aggregates but where members of the scorpion are outside the layer of aggregates such as the pincers or stinger, there are no shadows. So the designer gets a natural look on a Pure Isolation.
Another method is to paint the undesired background white with a #255 brush in the editing program. However, this is time intensive work and unless done properly, the image usually suffers from an unnatural look, jagged edges and loss of details. It works especially very poorly for hairlines. It is better to get the image right on camera itself.
This is another example of a Still Object on a White Background. As one can see clearly, diffused shadows can be observed under the rubber seeds but there are no shadows outside the image. The designer can easily use the Magnetic Lasso Tool in PS to pull the object from the image and place it onto another image. But if this image was a Pure Isolation, the designer has a much easier job if he or she does not want the shadows. Isolation images are usually used by designers looking for a singular image which can be lifted up cleanly and inserted into another frame to compliment another image. The technique can be applied to almost any subject include human subjects.
Note: No sharpening or unsharp mask filters were applied to these images.
Disclaimer: Do not attempt to photograph dangerous wildlife by yourself. Working with dangerous fauna such as scorpions requires professional assistance and anyone attempting to do it does so at their own risks. The author is totally not responsible nor is liable for any accidents or damages if you should attempt to work with these creatures on your own by account of this publication.
Wednesday, 31 August 2011
Tropical Fishes Isolations
To produce isolated images for fish catalogs and publications, the image of the aquatic creature(s) is typically a full-body suspended grab with a pure white background (RGB #255) without the subject casting any shadows. Occasionally… a half-body grab is acceptable such as this image of a wild, male Betta ibanorum.
It would be a photographer’s dream if the creatures, especially when it is a small, lively fish would pose for the camera at the snap of the fingers. Unfortunately, most wild fishes experiences great stress when they are collected from the wild, transported great distances and placed straight into the photography tank. Small details such as fin damages, missing scales, bruises and cuts show up clearly when the images are processed and reduce the value of the image.
The photographer should also understand the fishes’ background and most important, water parameters. For example, it does no good to place a wild peat swamp fighting fish into a tank that has been filled with city water drawn straight from the tap. Apart from drastically shortening the fish’s life, details of colorful fishes will not come out and in many instances, the images will appear drab and the slime produced by the fish(s) when they are stressed pollutes the water in the photography tank and complicate matters.
It may takes a period of a day up to a month before the fishes are calm enough to be placed into the photography tank and they are willing to co-operate. If a single specimen is only available, the fish must be cared for and fed with the correct diet in order that it recovers fully and any bodily damage like damaged fins and abrasions are mended.
The photography tank must be extremely clean without scratches and mineral deposits and the water filtered properly to remove very small particles that are constantly floating in the water.
High shutter speeds of 1/100s – 1/160s, an ISO value of 100 and a small aperture is the norm that I use for photographing macro images of fishes. If a higher shutter speed is called for when photographing hyperactive fishes, using sync cables may be unavoidable. Although a bigger aperture can be used, my experiences have shown me that insufficient details often show up in these images and therefore are unsuitable for commercial use. It is important that sufficient light and soft-boxes with a baffle screen inside are used to soften any shadows that are created by pectoral fins. At the same time, the lights for the white background should not overwhelm transparent fins so much so that they virtually ‘melt’ into the white background.
The last but most important thing about photographing live fishes is patience... lots of it. It would help a lot if the photography tank is positioned in a very quiet place, isolated from any traffic. Place oneself in front of the photography tank and be prepared to spend several hours if not, a few days to capture that perfect image.
These wild fishes featured below are typically streamlined, silvery in color and generally lacking any strong colors not to advertise them as potential prey for predators in the wild. Photographing silvery fishes requires light that is properly balanced in order that the edges of the silvery-white bodies also do not literally ‘melted’ into the background together with the fins.
The Rasbora pauciforata is also known as the Red Line Rasbora. A shy, schooling but common tropical fish in Borneo that measure up to 55mm as adults. They inhibit quiet, slow flowing waters in peat swamps near banks and heavy-vegetation-overgrown banks. The water is typically highly acidic and tannic in color. The singular red line that runs from the eyes to the tail is very slim like the line drawn from a pencil and can only be seen in healthy specimens. This is a very peaceful community fish that is suitable for tank mates smaller than its size.

The Puntius banksi is also known as the Saddle Barb. This is a common schooling barb found in South East Asian highland streams. It has a fairly large habitat ranging from fast flowing streams to stagnant pools that are temporary isolated from bodies of water until the next rains arrives and floods it and allows the fish to move to new feeding grounds. Although it can reach up to 160mm, it is a very peaceful fish once it has settled down.
The Rasbora myersi is also known as Myer's Rasbora. This is a fairly large highland fish from Borneo that reaches a length of 150mm. A powerful swimmer, it inhibits fast flowing water in shallow highland streams and usually feeds on insects that float on the water. Loose schools of this fishes are usually observed in the wild. They are relative peaceful and suitable for large community tanks.
Note: No sharpening or unsharp mask filters were applied to these images.
Tuesday, 30 August 2011
About Me and Them...
Back in the days of film photography, I had a Nikon F2 camera which did not receive much attention from me due to my never-ending workloads. I couldn’t really make out how to work the SLR properly and only managed to shoot off a few rolls of film with it during my brief holidays. Unfortunately, it sits in a cardboard box somewhere in Kuala Lumpur gathering dust and exotic fungi. Perhaps I shall pull it out of retirement when I am visiting the store. A Samsung film P&S camera joined the ranks much later but it broke down very soon and my interest soon waned. But the main reason of the lack of interest during the times of film photography was the lack of guidance and experienced photographers who were willing to coach newcomers or newbies like we are called.
The era of digital photography does offer many advantages because the cost of capturing an image on a digital camera is now very low and photography becomes very accessible. Any photographer worth his/ her salt would also have to learn to edit their own images themselves and that added another critical element to the learning curve. The Internet is also a treasure throve in information and knowledge and allows one to reach out to a bigger library and audience.
I am primarily a self-taught photographer with the blessed benefits to be able to lean heavily from the experiences of seasoned photographers such as Laurin Rinder, whose client list includes the Ford Modeling Agency and David P. Smith, a well-known food photographer and many others.
Laurin and Dave also teach photography, write and publish books related to this field. Laurin is also a painter. Meanwhile, Dave is an excellent chef and constantly gets me into troubles with my dietary gremlins when he starts showing images of his Barbeque Ribs and Apple Pie Ala Mode.
Used with Permission by David P. Smith, All Rights Reserved
I would encourage anyone who is interested in learning and improving their photography skills to visit their website for further information. Their link is as follows:- Rinder-Smith Photography
Used with Permission by David P. Smith, All Rights Reserved
Used with Permission by Laurin Rinder, All Rights Reserved
My interest in photography picked up again when I needed to document flora and fauna specimens as part of my work and soon found out very fast that a 4MP Kodak compact camera could hardly deliver the quality I wanted. An upgrade to a Sony dSLR soon followed and found out almost immediately that I hardly knew anything about photography. I must confessed that I soon developed an inferior complex very fast *ROFL* when I was around “photographers” who had better cameras and bigger lens than I do.
Fortunately, I had discovered MicroStock (MS) after FlickR and decided that I should jump into the deep end of the pond and mingle with professional photographers. Much to their credit and my amazement, many of these talented photographers were more than willing to help, share, support and provide critique where necessary. Many of these commercial photographers also have their own studios and were kind enough to let us peek into their work spaces.
Meanwhile, it has been gratifying to note that increasing numbers of my images have found approval with commercial buyers and advertisers. It had been a steep learning curve (but interesting) with the professional agency houses as they demand very high standards from their pool of photographers. Currently, I have focused mainly on product shoots but with proper studio equipment targeted for delivery within the next weeks to come, I am delighted with this development. It simply means that I can now take on commercial stock work.
As an introduction post in my photography blog, it also serves as a forefront mention of gratitude to my mentors and also expresses my intentions to progress further into the field of commercial photography. A BIG Note of Thanks is extended to this amazing wonderful group of photographers. Cheers and Long Life!
I'm Flattered by Thai Curry
I reckoned that much has transpired ever since I pick up photography seriously in May 2010. I’d attempted recently to register my own photography blogs under my photographer moniker ‘Blinztree’ at blogger.com. It proved to be interesting as I found that there is already a person or persons who have registered my moniker for reasons only known to themselves.
I guess I must be greatly flattered… whoever you are, “Thai Curry” and “Blinztree Images” and come to the realization that I am attracting serious attention.
Gzeeee, Guys… I’m really flattered! Thank you.
Gzeeee, Guys… I’m really flattered! Thank you.
So in order to be able to register this blog, I have modified the name slightly to read it as Blinz3… the Real Blinztree. ;-).
Subscribe to:
Posts (Atom)